 |
|
|
|
|
|
|
keywords blazer jimmy 2wd 1970 1971 1972 first generation 1st gen single wall double wall bagged dropped custom lowrider original classic chevy chevrolet sbc 350 383 truck tub air bags Air Ride billet bonspeed huntington parts gmc convertible pictures carb summit jegs ebay blazer c-10 michelin pilot sport blazer jimmy 2wd 1970 1971 1972 blazer jimmy 2wd 1970 1971 1972 blazer jimmy 2wd 1970 1971 1972 engine chrome accessories custom paint colors flame pinstripe
|
|
 |
 |
|
 |
|
 |
|
|
 |
|
|
|
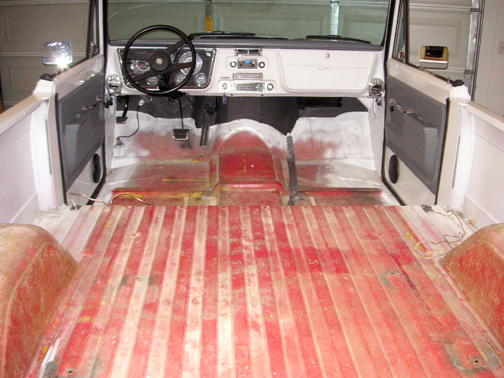
After sitting for about 6 months in my garage, I decided it was time to tackle the work on this truck.
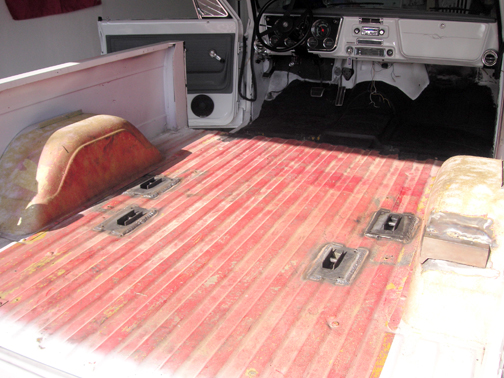
I began by tearing out the entire old interior. I was happy to find no surprises under the carpet.
|
|
|
|
|
|
 |
|
|
|
| As it turns out, the truck came from the factory painted ochre, and was later painted red. The last coat of pearl white was not applied to the entire tub, which was a bummer, but for the price I paid for the truck, it was still a steal. |
|
 |
|
|
 |
|
|
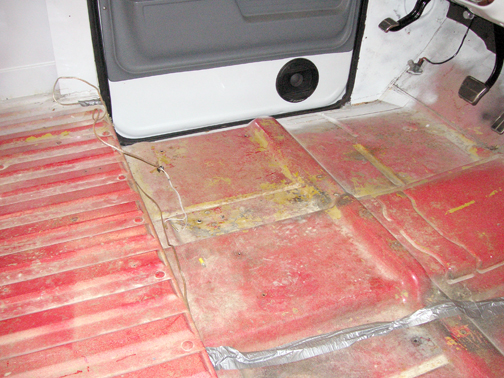
| Figured since I was changing out the carpet I should take the time to make it better than it was before.
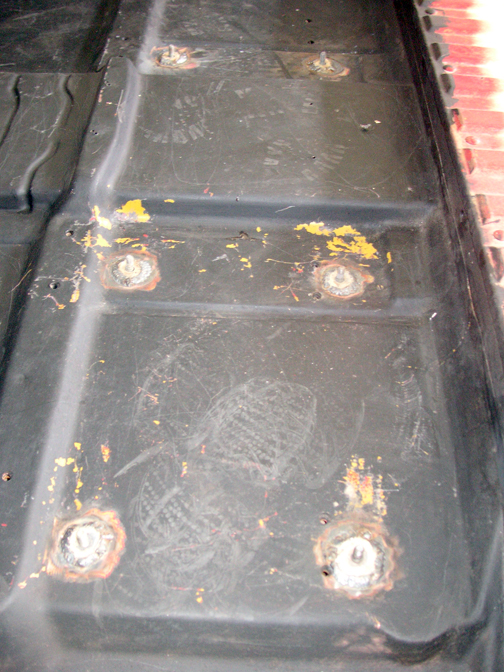
I sanded the parts that needed it and covered the floor pan with rust inhibitor.
|
|
 |
|
|
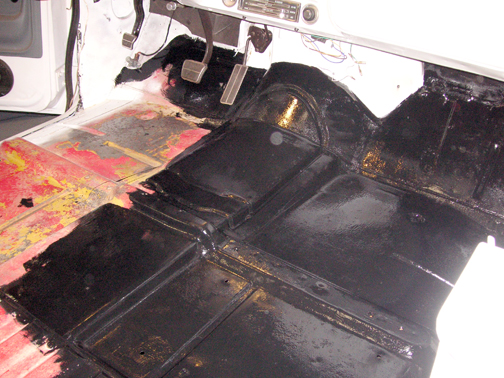
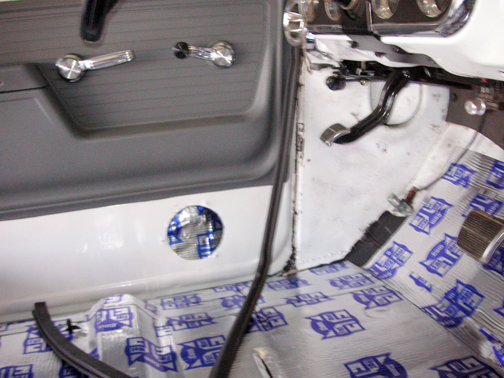
| Getting the front bucket seats out was a pain. I had to open the rocker boxes and reach in with a home made extension to hold the bolts. To fix this, I had the seat bolts welded in. Of course I laid another coat of rust inhibitor here and in the bed. |
|
 |
|
|
 |
|
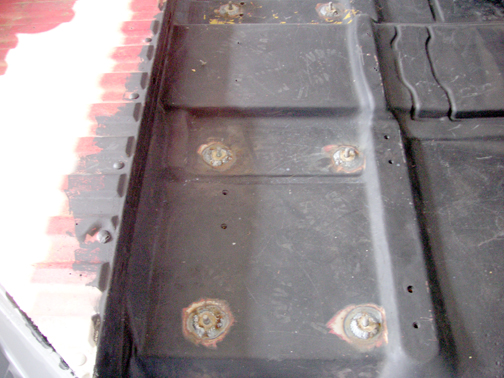
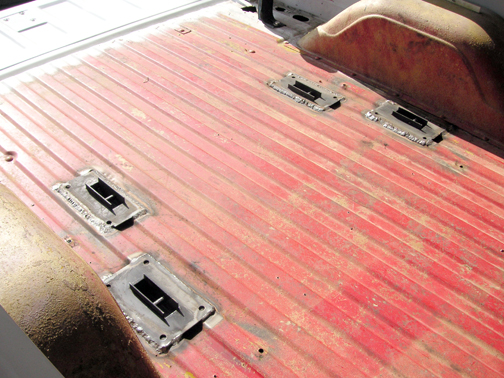
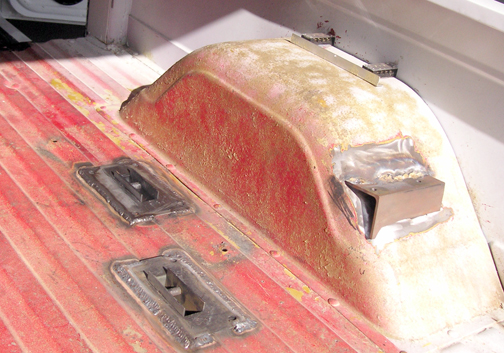
| In this pic you can see the install of the back seat brackets, the plate for mounting the air bag tank (on the right wheel well), as well as the fix for the gas filler neck. Just had to raise it to almost stock position, and mounted it to a thick metal bracket. |
|
 |
|
|
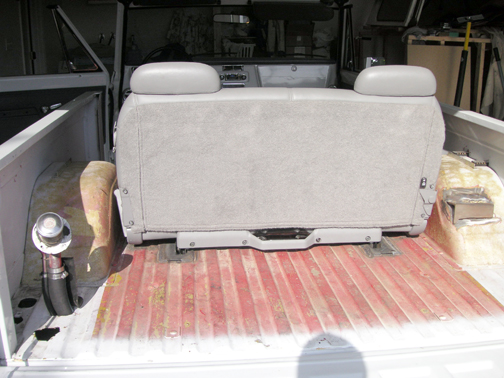
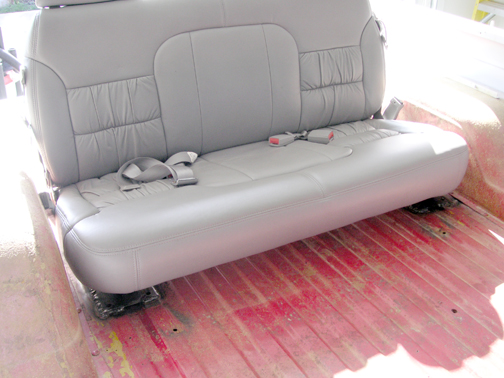
| After searching over a year, I found (on craigslist) a never used matching rear seat for a great price. It was a third row seat from a 99 sub. It was near LA so it took me some time to get it.
|
|
 |
|
|
| I bought the brackets to hold in the back seat off ebay. After measuring and welding, they work perfectly with the seat. (Had to be careful of the brake and fuel lines under the bed.) It is now folding and removable. |
|
 |
|
|
 |
|
| Another picture of the air tank plate. It bolts in to here on one side, and bolts into another bracket on the rear side.
All the lines and wires are run behind the bed panels, and you can see the fusable links on top of the wheel well.
|
|
 |
|
|
|
 |
|
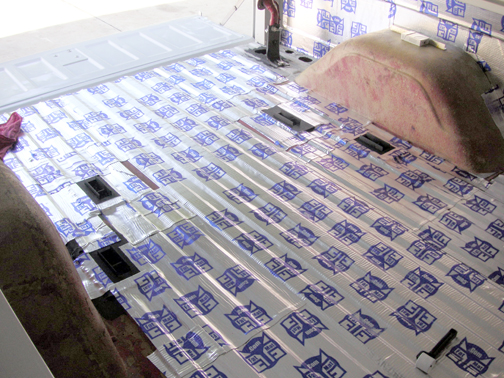
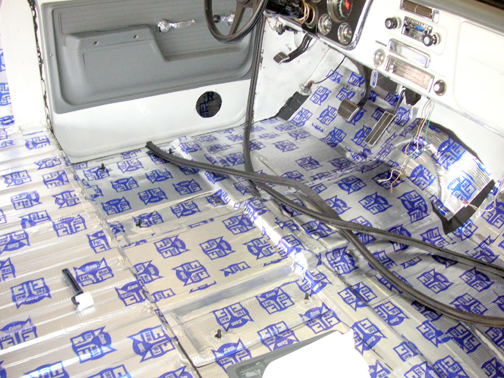
| I ordered 100 sq. feet of Fatmat. It went in real easy, but I should have ordered more if it to cover the entire tub area, including doubling up in some areas.
The fatmat is thin, sticky and easy to work with. I started with the insides of the doors, then the inside bed walls, the front floor pan, and ended with the bed floor.
|
|
 |
|
|
 |
|
 |
|
 |
|
| At this point I started building up the interior.
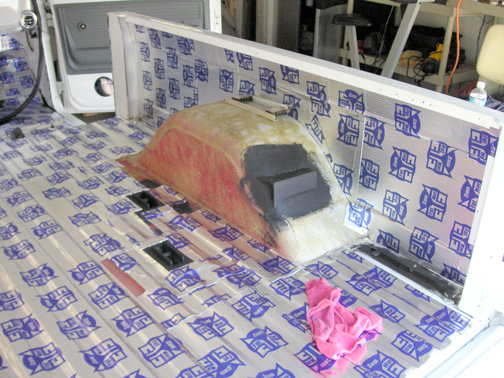
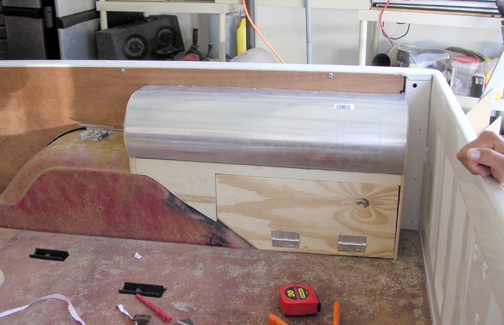
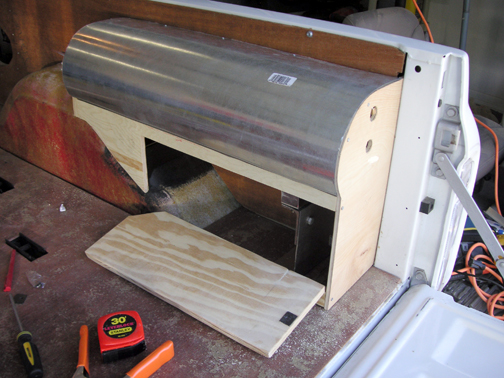
I cut out the wood panels for the bed sides and bed floor. From there I created this "cabinet" for the air tank. I wanted to hide everything, and I thought this would look the cleanest. The cover is cut from 8" air ducting from home depot.
I built the tank (passenger) side first, and then moved to the driver side to repeat the same shape there.
|
|
 |
|
 |
|
|
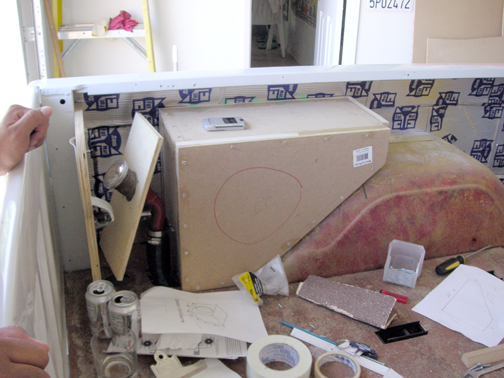
| This side will conceal the sub box and the gas filler neck.
I used 3/4" MDF board to make a sealed inclosure for the sub, following the manufacturer suggested internal volume size.
|
|
 |
|
|
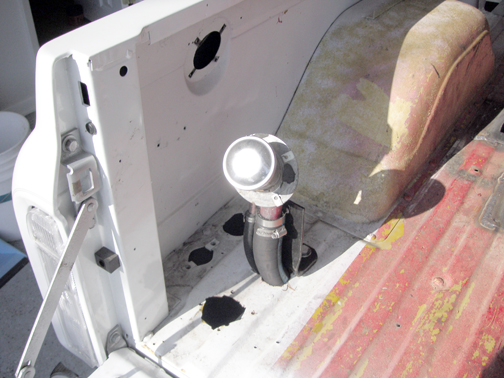
| I got a gas filler lid from the junk yard, and routed out a 1"plywood board to hold it. With a few adjustments, this lid should work just fine, only thing is that I will have to open the tailgate to fill up.
This is where I was at as of May 2006. It took me over a year to get to the next step.
|
|
|
|
|
|
|
|
|
|
|
|
|
|
|
|
|
|